Harvesting and Curing Garlic
Here we are, it's been nine months since you pushed those wee cloves into the ground. You have watched them sprout and grow taller and taller, with great excitement and anticipation... but, what happens now? When to harvest and how to cure?
Northern Quebec Garlic bulb
How exactly does one know it is time to harvest?
These ones are ready to go
Exactly is a loosely used term when it comes to garlic harvest. One can quickly go from a bit too early to a bit too late.
First, stop watering when you harvest the scapes, which is 3 to 4 weeks before you harvest the bulbs.
Next, keep an eye on those stalks. Harvest when the bottom 3 to 5 leaves are yellow or brown and top 4 or 5 leaves are still intact and greenish. So... each stalk is half green and half brown.
Some people leave them a bit longer, but waiting longer than 4 leaves makes me pretty nervous. Each leaf is actually a skin, a wrapper, on the garlic bulb itself. Therefore, if one waits too long, the skin splits open, soil and bacteria get into the bulbs, and they neither cure nor keep.
Softneck (artichoke) garlic left in the garden a bit too long.
Skin has split open so is not curable.
If your bulbs have split open, clean them up, separate the cloves, wash, and pop into the freezer. They will keep for a year or more. Garlic is also fabulous dehydrated.
Still not sure? If in doubt, you can check the progress and size by brushing soil away from the top of a bulb or two. As long as you cannot see any exposed cloves, you are safe to leave them in the ground a bit longer to size up some more.
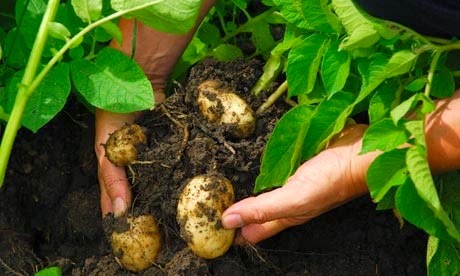
If your soil is loose and friable, you can just gently pull them out of the garden
When ready, is time to lift. You can do this by hand, with a transplanting spade, or a garden fork.
As my soil is very friable, kind of sandy, I grab down low on the stalk, then gently but steadily pull the garlic from the ground. If your soil is heavy, however, is best to lift them with a garden fork or a narrow transplanting spade. Place 3 to 4 inches away from stem so as not to accidentally stab the bulb.
If using a fork or a spade, insert 4 inches away from bulb
Gently shake or brush off the excess soil, do not bang against something or you will have bruised bulbs. Do not wash with water.
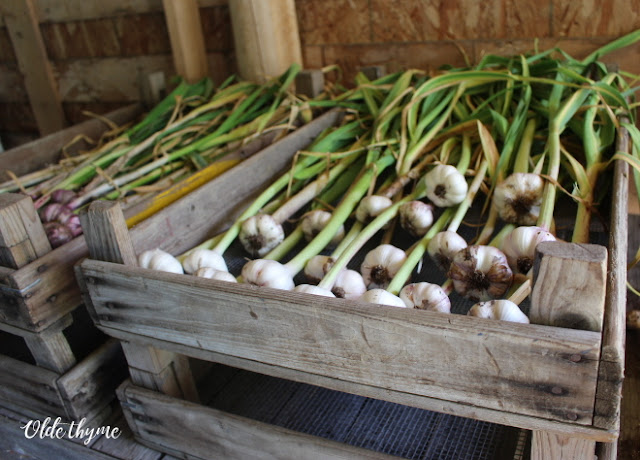
Garlic curing in my open and airy curing shed
Curing...
To cure your garlic, leave stems on, leave roots on.
Lay out in an airy yet shady spot. Carports are fabulous for this purpose. If using a basement or garage with no natural air flow, leave a fan running to keep the air moving, direct the fan right at the bulbs.
You can also hang them in bundles from the rafters. Stagger 5 or 6 bulbs in a bundle, with good air flow to each bulb, and hang to dry. Do not try to braid at this stage!
Leave to cure for no less than 2 weeks. I leave mine for a minimum of three weeks and often as long as 6 to 8 weeks, especially if the weather has been damp or humid.
One whole table has been dedicated to curing just the Susan Delafield garlic!
When they are all nicely cured, with dry stalks and papery skins, is time to clean them up. Trim off the roots and cut the tops to one inch long. Rub the bulbs till they are nice and white and clean. If you find any with nicks or bruises, take those aside to use for cooking, dehydrate or freeze.
Bottoms nicely trimmed, tops cut, and fully cured.
Will store for 6 to 9 months.
Happy gardening and growing!


Comments
Post a Comment